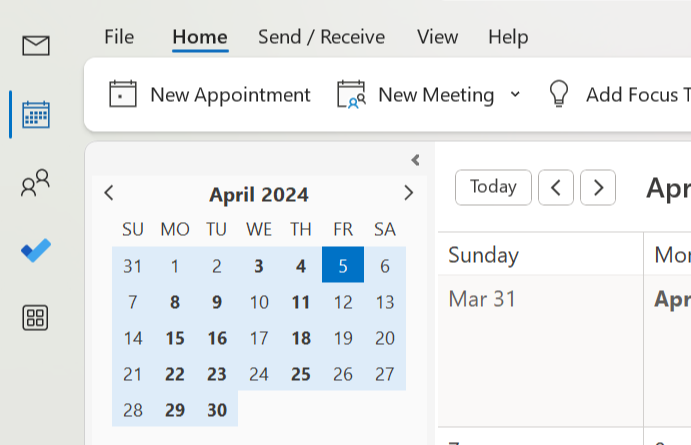
Export calendar from Outlook in Windows
- In Outlook, open the Calendar, and select the calendar you want to export.
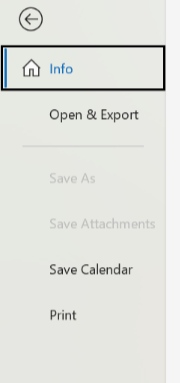
- Click File > Save Calendar.
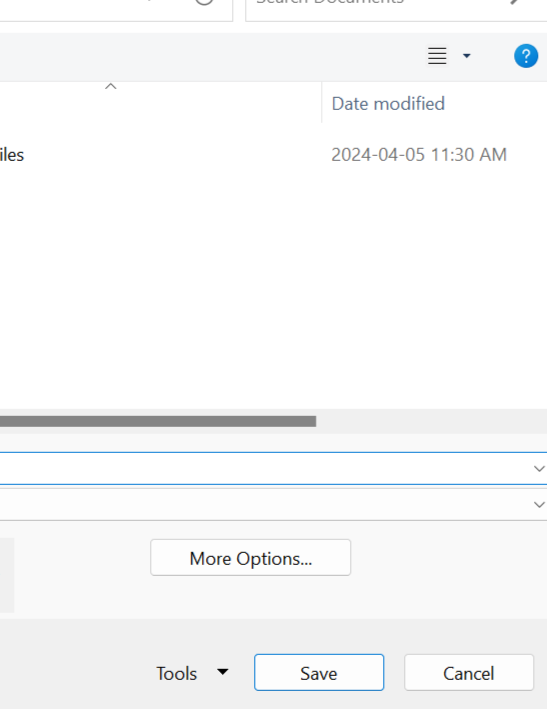
- Use the default name or type a name for the iCalendar file in the File name box.
- You’ll see a summary showing the calendar name, date range, and detail level next to More Options. If you’re satisfied with the summary, jump to step 7, otherwise continue with the next step.
- Click More Options.
- Click the Date Range arrow, and choose the amount of calendar data you want to include in the iCalendar file or click Specify dates to enter a custom date range.
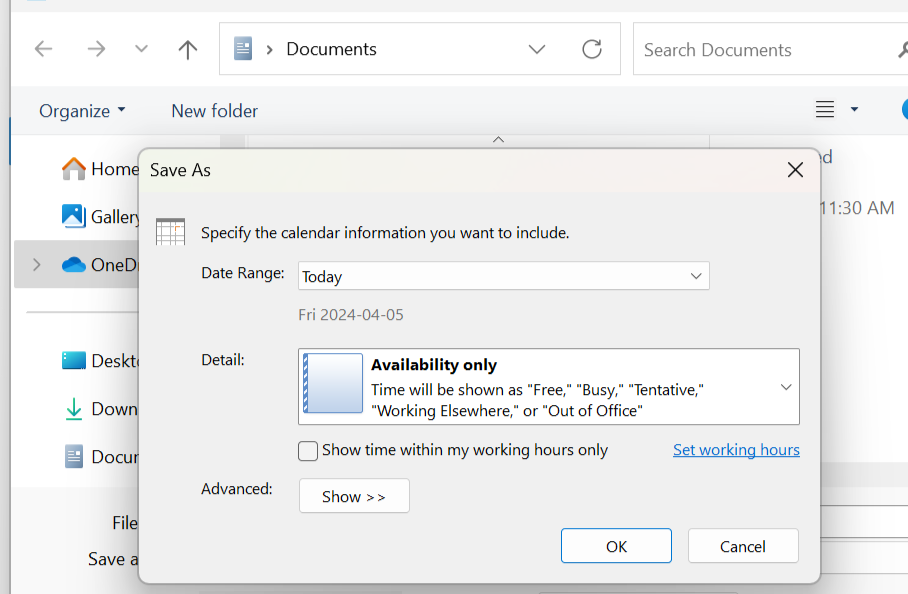
- Click the Detail arrow and, choose the amount of detail you want to show.
- Click OK, and then click Save..